How to Prune Flowering Houseplants for Maximum Blooms
Discover how we prune flowering houseplants grown in our Brooklyn community home to boost blooms, shape growth, and keep them thriving year-round!

We are an AD-FREE community driven site. When you purchase through links on our site, we earn an affiliate commission, which helps sustain our blog!
Think pruning is just for shrubs and trees? Think again! Flowering houseplants love a good haircut—if you do it right. Pruning isn’t just about shaping your plant—it’s about directing light, and energy where it matters most: toward lush growth and vibrant blooms.
In our plant-filled Brooklyn home, we’ve experimented with everything from pinching back Begonias to deadheading African Violets. The result? More flowers, longer bloom times, and healthier plants. This beginner-friendly guide breaks down exactly how (and when) to prune your indoor flowering plants so you can enjoy the biggest, brightest blooms your space can offer.
Types of Pruning for Flowering Houseplants
Pinching: Light tip removal to promote bushiness
Pinching is our go-to for plants like impatiens, begonias, and coleus. We just use our fingers to remove the very tip of a growing stem, usually just above a leaf node. This encourages the plant to branch out instead of growing tall and spindly. It’s super simple, but makes a big difference in how full and flower-heavy a plant becomes.
Deadheading: Removing spent blooms to trigger more flowering
Deadheading is all about cutting off faded or wilted flowers before the plant puts energy into seed production. Snipping those old blooms off tells the plant, “Hey! Time for more flowers!” And the plant listens—new buds almost always follow.
Hard Pruning: Seasonal cutback for compact regrowth
Hard pruning sounds dramatic, but sometimes it’s necessary—especially for hibiscus, fuchsias, or leggy geraniums. It feels extreme, but the payoff is denser leaves and better blooming through the season. But don’t do this if you are a beginner. Cutting more than 30% of your plant in general rarely provides good results.
Thinning: Removing internal or crowded stems for airflow and shape
We use thinning when a plant starts looking tangled or congested. Think of it like editing. By removing some inner stems, we improve airflow and allow more light to reach the inner parts. This helps prevent fungal problems and also gives the plant a cleaner, more balanced shape—great for bushy bloomers like hydrangea or busy begonias.
Rejuvenation Pruning: Cutting back overgrown or neglected plants
A good rejuvenation prune—removing the oldest, biggest leaves and trimming back tired stems—brings plants right back. This kind of pruning is a reset button. It’s especially helpful for older plants that look worn-out or haven’t flowered in a long time.
Our favorite Pruning Shears

(~$13)

(~$6)
When to Prune Flowering Houseplants
Best seasons for pruning: post-bloom vs. pre-growth?
We usually prune right after a flowering cycle ends—it gives the plant time to rest and recover before pushing new growth. For plants that bloom in spring or summer, late winter or very early spring is ideal. We avoid pruning right before blooming.
When to prune blooming vs. non-blooming varieties?
For plants like hibiscus or peace lilies that flower frequently, we prune between cycles. But for orchids or kalanchoes, we wait until the bloom has completely finished—especially if a rest period is coming up. Pruning too early can cut off the very spike that’s about to flower.
How to avoid cutting off next season’s flower buds?
Some plants—like hydrangeas or certain orchids—develop flower buds months before they bloom. If you prune without checking for buds, you might lose the whole next cycle. Now, we check for visible nodes or bumps along the stems before making cuts. If there’s any doubt, we skip it and prune later.
Signs your plant is ready for pruning (leggy growth, dead tips, faded blooms)
We’ve learned to look for cues. Leggy stems, faded blooms, droopy leaves, or crispy edges are signs the plant is ready for a trim. If a plant just feels off but isn’t sick—like it hasn’t bloomed in a while and looks a little tired—pruning often brings it back to life. We treat it as an energy reset.
Also read: Why won’t my flowers bloom? and why are the buds falling off?
How to Prune the Right Way (Step-by-Step)
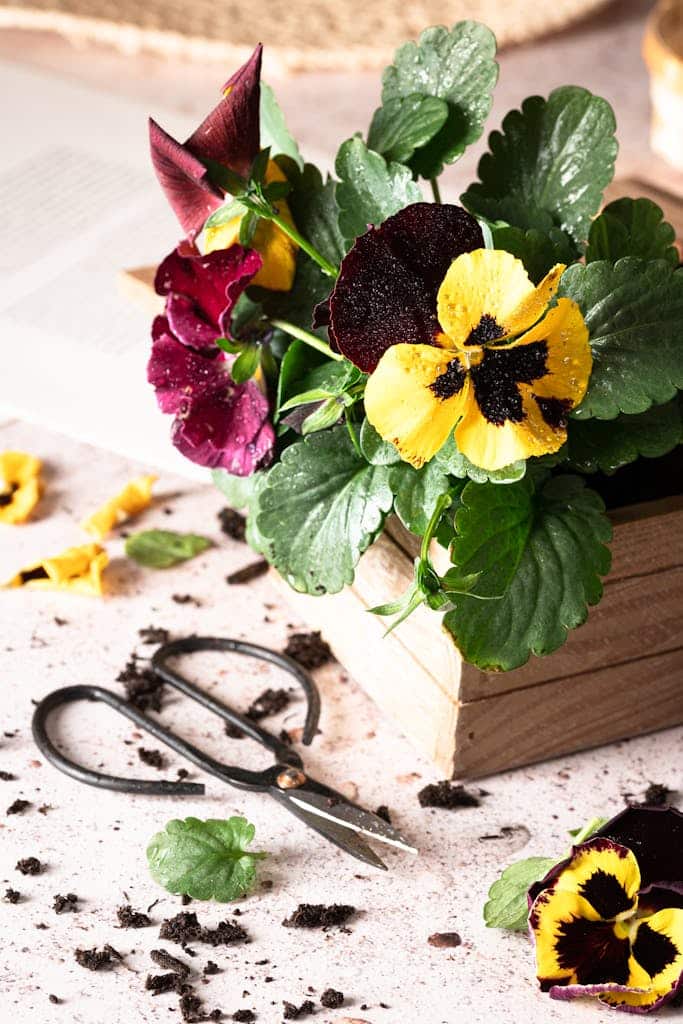
Clean, sharp tools: scissors vs. snips
Dull or sticky blades can tear stems instead of cutting cleanly, which leaves the plant open to disease. Use small garden snips or sharp scissors—nothing fancy, just something clean and sharp. For delicate work like African violets or orchids, we reach for fine-tipped snips that give us more control.
Identify where to cut: above leaf node or just behind bloom
The key to pruning is knowing where to cut. If we’re trimming stems, we cut just above a leaf node—that’s where new growth will emerge. When deadheading, we cut right behind the bloom, where the flower stalk meets the stem. For plants like hibiscus or begonia, this encourages new buds to pop up faster than if we just left the dead bloom hanging there.
Angle and technique: clean snips, not tearing
We always cut at a slight angle, especially on thicker stems. That helps prevent water from sitting on the cut and reduces the chance of rot. No sawing or tugging—just a quick, clean snip. If the stem tears or crushes, we back up and make a second clean cut a little lower down. The plant heals better that way, and we feel better too.
Dispose of cuttings or propagate where possible
After pruning, we either toss the trimmings or try to propagate the healthy ones. Begonia and impatiens cuttings root like magic in water or moist soil, so we’ll pop those into a glass jar or nursery pot. Diseased or mushy material goes straight into the trash—not the compost—just to be safe.
Sterilize tools between plants to prevent disease spread
This is a step we used to skip… until we spread mealybugs from one plant to three. Now, after pruning each plant, we wipe down the blades with rubbing alcohol or a diluted bleach solution. It takes a few seconds, but it prevents a lot of problems down the line. Clean tools = healthy plants.
Pruning Aftercare
Watering lightly post-pruning to reduce stress
Right after pruning, we don’t drench the plant. Instead, we give it a light watering—just enough to keep the soil slightly moist. It helps the plant recover without overwhelming its healing roots and stems. We’ve found that watering too heavily right after a prune can actually make the plant sluggish or even invite root issues if the pot’s not draining well.
Avoid fertilizing immediately after pruning
This one took us a while to learn. Our instinct was to feed the plant after pruning to “help it grow.” But that usually stresses it out more. Right after a prune, the plant isn’t in a state to process extra nutrients—it’s focused on healing. We wait at least 7–10 days, until we see new growth or perked-up leaves, before resuming fertilizer.
Give the plant a few days to recover in indirect light
We move recently pruned plants into bright but indirect light, away from harsh sun. Direct light right after a trim can dry out fresh cuts and stress already-tired leaves. Even for sun-lovers like lipstick plant or kalanchoe, a few days in gentler light helps them rest and recalibrate before getting back to business.
Resume regular feeding schedule after new growth appears
Once we see fresh shoots, buds, or bushier leaf tips, that’s our green light to feed again. We usually start with a diluted fertilizer (~$28), especially for flowering plants. Getting back on a light, regular feeding schedule helps support those new stems and encourages another round of blooms—sometimes sooner than expected.
Watch for signs of regrowth or stress in the first week
The first week post-prune tells us everything. We keep an eye out for wilting, yellowing, or droopy leaves, which could mean the plant’s struggling. On the flip side, new leaves or upright stems are a great sign. If something looks off, we double-check watering, light, and air flow to help it recover. 8 out of 10 times, pruning has lead positive results for us, we’d say!
Pruning Tips for Popular Flowering Houseplants
- African Violet: pinch faded blooms, avoid leaf crown
- Hibiscus: prune lightly after flowering, shape in spring
- Anthurium: remove old flowers and yellowing leaves
- Begonia: pinch tips regularly to encourage fullness
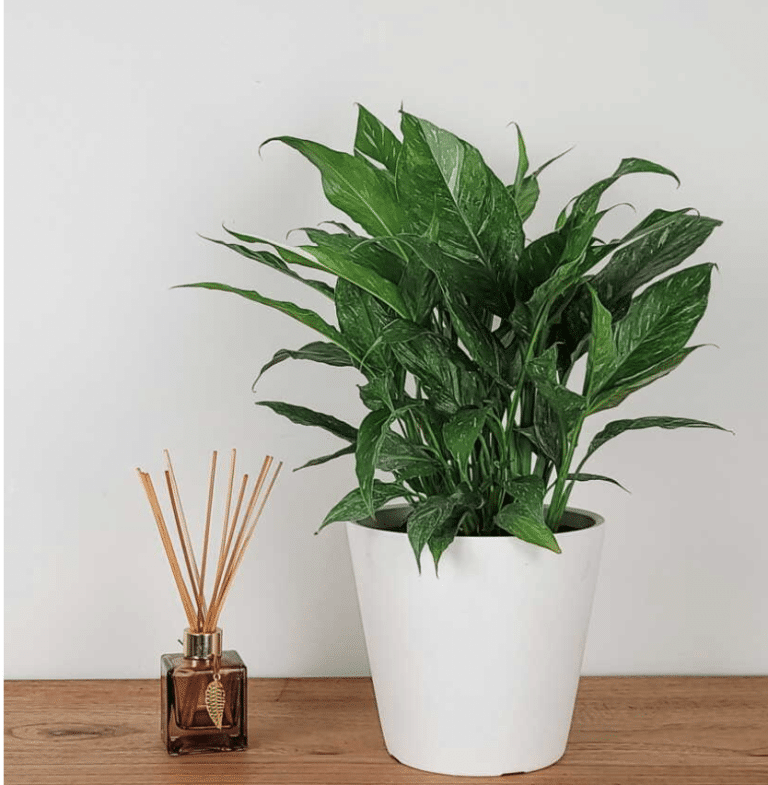
- Peace Lily: snip spent blooms at the base
- Orchid: cut spike above node if still green
- Impatiens: trim regularly to avoid legginess and boost flowers
- Kalanchoe: deadhead blooms, cut back after flowering
Read also: How to style flowering houseplants
Conclusion:
Pruning may feel intimidating at first, but it’s one of the simplest ways to help your flowering houseplants thrive. With the right cut at the right time, you’ll guide your plant toward fuller, healthier growth and more vibrant blooms. Whether you’re pinching, deadheading, or giving your plant a full refresh, consistent pruning is the secret to lush indoor flowers year-round.