Hanging Spider Plant Care: Tips for Trailing & Health
Master trailing growth with our easy care tips for hanging spider plants—watering, light, pruning, and styling grown in our Brooklyn community home.
When you purchase through links on our site, we may earn an affiliate commission, which helps sustain our blog!
Hanging spider plant Care guide
Summary
How to care for hanging spider plant?
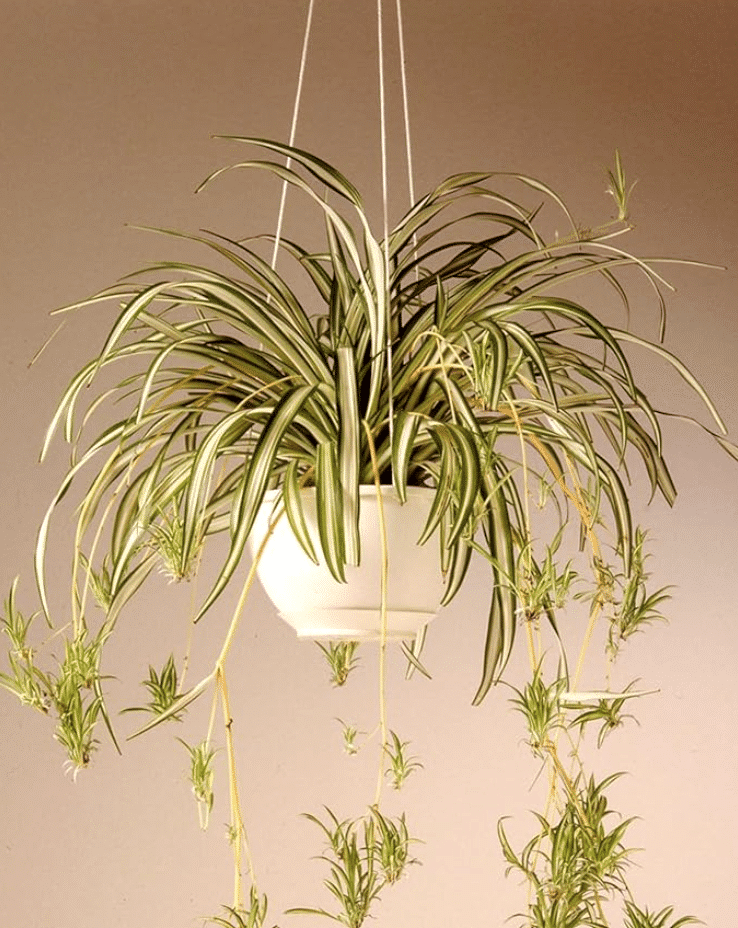
Hanging Spider Plant is a fast-growing, arching houseplant known for its easy care, air-purifying qualities, and pet-safe nature.
- Water when the top inch of soil dries out, and let excess water drain fully.
- Thrives in bright, indirect light but tolerates low light; prefers 60–80°F.
- Non-toxic to pets (ASPCA), though cats may be attracted to the leaves.
- Plant in well-draining potting soil with perlite; feed monthly in spring and summer with balanced liquid fertilizer.
- Common issue: brown tips from fluoride, dry air, or inconsistent watering—trim tips, use distilled water, and raise humidity.
- Propagate easily by cutting and planting the baby plantlets that grow on long stems.
lineage and Symbolism
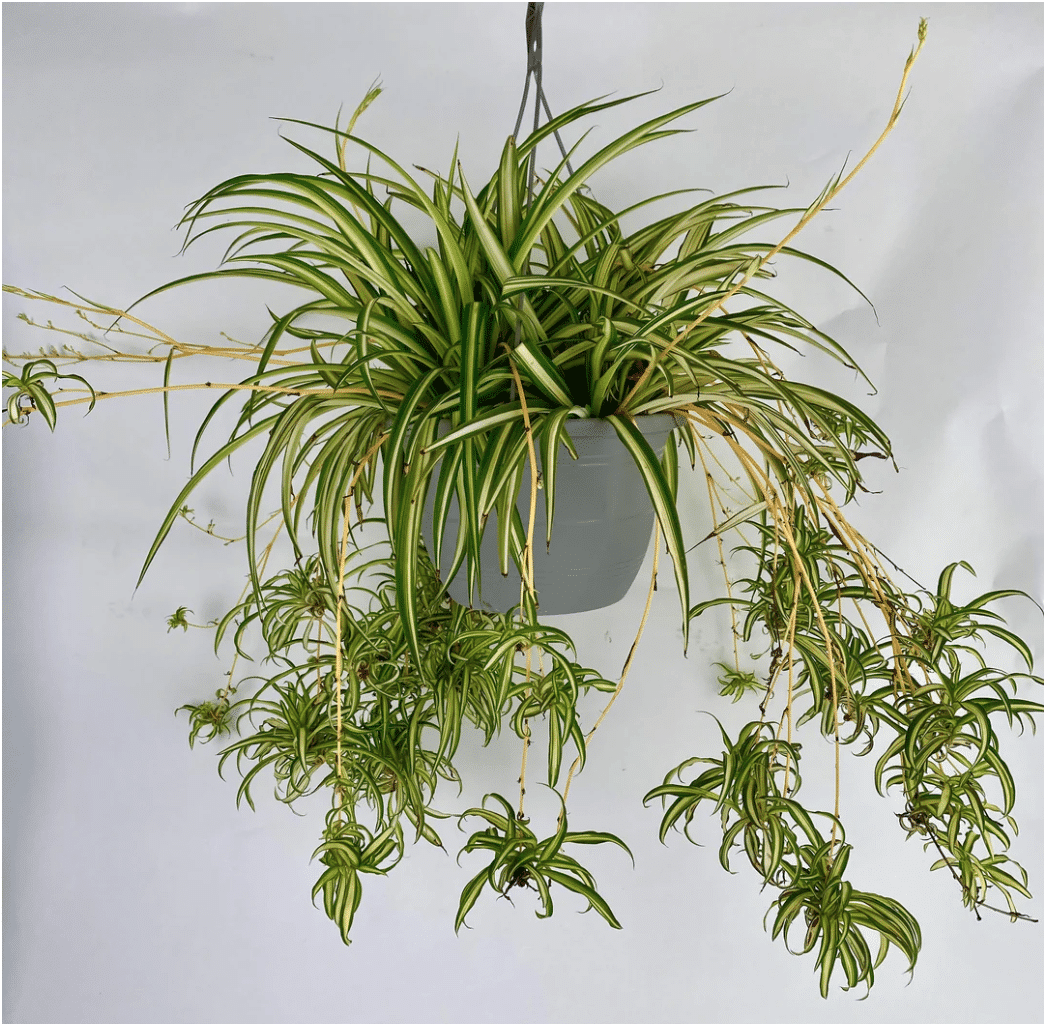
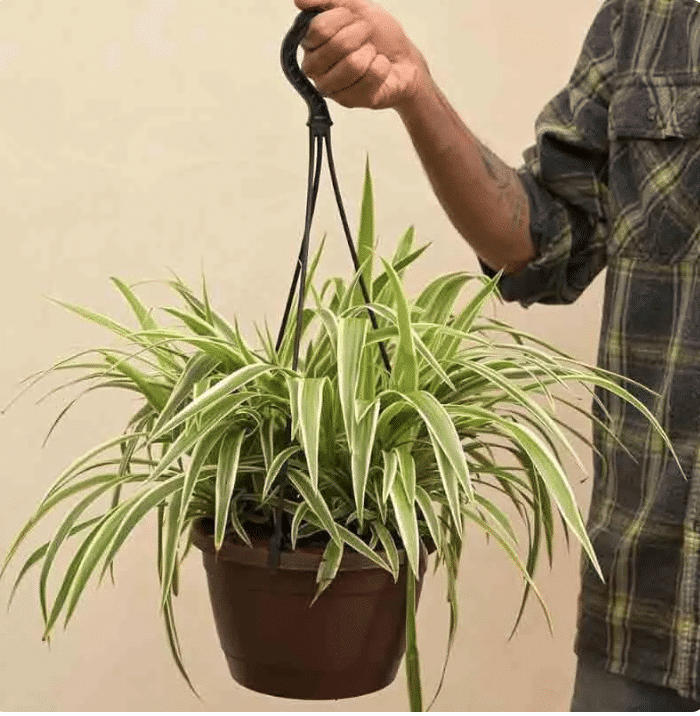
The Spider Plant (aka Chlorophytum comosum) from the Asparagaceae family has long, arching green leaves with creamy white edges that’s just perfect for trailing from the wall or a shelf that could use some greenery. We love how well it adapts to both bright, indirect light and low-light corners, making it a flexible option for various spots: think kitchens, bathrooms, or cozy living rooms. It typically grows up to 12–15 inches tall, with trailing stems reaching even further!
Fun fact: Spider Plants love to make “babies!” Those little spiderettes that dangle from its stems are not only adorable but can grow into new plants if you’re up for some easy propagation! Read also: Hawaiian Spider Plant, and Curly Spider Plant
The Spider Plant symbolizes resilience and renewal – often associated with cleansing energy – making it a fitting match for Virgos who appreciate its low-maintenance nature and air-purifying qualities!

($43)

($39)
“I love its little hanging babies. Its thriving by my windowsil!”
Light and placement

What is the light requirement for hanging spider plant?
Spider Plants thrive best in bright, indirect light, but they can handle lower light conditions if needed. We’ve found they do particularly well near an east or north-facing window, where they can soak up a few hours of morning sunlight without risking leaf scorch. Aim for around 6-8 hours of bright, indirect light each day. Just make sure to avoid direct, harsh sunlight, like from a south-facing window, as it can cause browning on the leaves.
How to know if hanging spider plant is not getting right amount of light?
When it gets too much light – especially direct sun – its leaves will turn brown at the tips or start looking scorched. This can be common near a south-facing window where the midday sun is strongest. Too little light can cause the plant to grow slowly, with pale, thin leaves that lack vibrancy, and its signature stripes may fade. It will also stretch to the light which doesn’t look great!
Where to place hanging spider plant and where to avoid?
The best spot for a Spider Plant is near an east or north-facing window where it gets soft, indirect light in the morning. We love hanging it in a kitchen or living room corner where it can gently cascade. Make sure it’s not in direct sunlight—avoid south-facing windows since the bright midday sun can scorch its leaves.
During winter you might shift it closer to a brighter window but in summer, east-facing windows are ideal to provide the right balance of light without overheating the plant. Keeping it away from heating vents or drafty spots also helps it thrive!
Soil
What soil composition to use for hanging spider plant?
For a Spider Plant, we recommend a well-draining potting mix made with a blend of 2 parts standard potting soil, 1 part perlite, and 1 part loam. We like this mix slightly acidic, around a pH of 6.0 to 6.5, which Spider Plants prefer. For lighter watering, consider adding a bit more perlite for extra aeration!
Best soil to use for hanging spider plant?

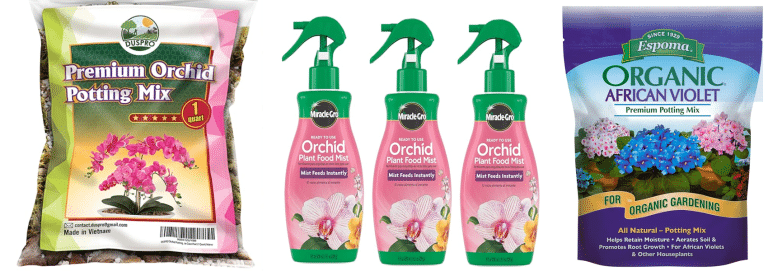
This is a great and most poapular soil mix for your hanging spider plants . If you’re using other potting mixes, just make sure to add more perlite!
Temperature and Humidity
What is the best temperature condition for hanging spider plant?
Spider Plants thrive in temperatures between 65°F and 75°F but can tolerate down to 55°F at the most. If you’re in a warmer or drier area, we suggest keeping it away from direct sunlight to avoid leaf scorch and misting occasionally to prevent browning tips.
In colder regions or winter months: place it away from drafty windows and avoid temperatures below 50°F. The cold stress can cause wilting and pale leaves.
What is the best humidity condition for hanging spider plant?
Spider Plants enjoy moderate humidity levels: ideally around 40-60%. If you’re in a drier climate or it’s winter, placing it near a humidifier or misting it occasionally helps prevent leaf tips from browning due to low humidity. In warmer ensure good airflow to avoid excess moisture which will lead to fungal issues.
Watch for signs like brown, crispy tips if it’s too dry. And yellowing, limp leaves if it’s too humid!
Our favorite humidifiers

($34)

($67)
fertilizer
What is the best fertilizer composition to use for hanging spider plant?
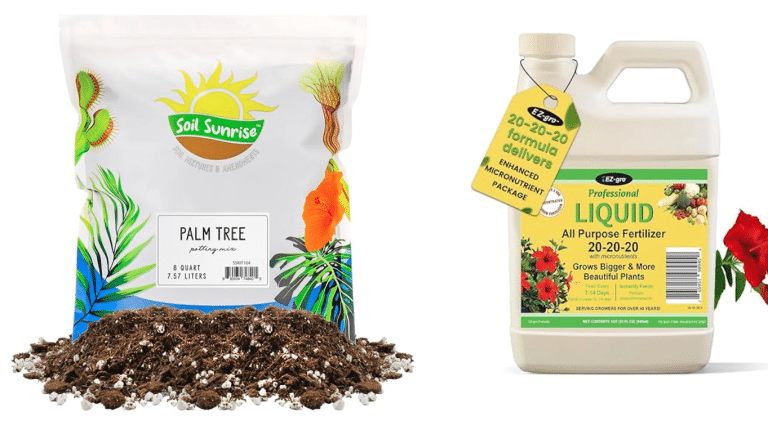
Hanging Spider Plants, native to tropical and subtropical regions, thrive with a balanced 10-10-10 N-P-K fertilizer. We recommend applying at a half-strength ratio every 4-6 weeks during the growing season. This plant doesn’t need much fertilizer, so err on the side of less as over fertilizing can cause leaf burn.
For a simple DIY recipe: try mixing 1 tablespoon of Epsom salt, 1 tablespoon of coffee grounds, and 1 teaspoon of crushed eggshells in a gallon of water—this provides a gentle nutrient boost ideal for Spider Plants without causing any leaf burn or risks with over fertilizing!
How and when to fertilize hanging spider plant?
Fertilize your Hanging Spider Plant every 4-6 weeks during spring and summer – when it’s actively growing. Pour it directly into the soil, avoiding the leaves, to prevent burns. In fall and winter: skip fertilizing to give the plant a natural rest period.
What are the signs hanging spider plant needs food?
If your Hanging Spider Plant is showing slow growth, pale or yellowing leaves, or fewer baby “spiderettes,” it might be craving nutrients. We also watch for limp leaves- which can signal low nitrogen. These signs are especially important to address with fertilization if they appear in the growing season: spring and summer.
Best fertilizer to use for hanging spider plant?

Pots and planters
What are the best pots to use for hanging spider plant?
For Hanging Spider Plants, choose a pot slightly larger than the root ball to accommodate its growth but avoid oversized pots that can lead to overwatering. Opt for ceramic or terracotta pots to provide stability and allow airflow. For hanging setups, a lightweight, breathable material with drainage is perfect, balancing moisture and airflow!
Our favorite hanging pots for spider plant


Watering
How and When to water hanging spider plant?
Spider Plants love evenly moist but well-drained soil—never soggy. We recommend watering every 1-2 weeks in spring and summer, reducing to every 2-3 weeks in cooler months. Allow the top inch of soil to dry out between waterings.
For best results, water in the morning and pour slowly at the base until excess drains out.
what are the Signs of over or under watering hanging spider plant?
Overwatering signs in Spider Plants are: yellowing leaves and mushy roots—a tell-tale sign is blackened leaf tips that feel soft. You may also notice a musty smell from the soil due to rot.
For underwatering, look for dry, brown leaf tips and limp, pale leaves that lack their usual vibrancy, especially if the soil feels bone-dry.
Our favorite watering cans

($14)

($25)
pruning
When to prune hanging spider plant and why?
Pruning a Spider Plant helps control its shape, removes dead or damaged leaves – the best time to prune is in early spring when the plant is ready for a growth spurt, though you can trim dead leaves year-round. Signs it’s time to prune include brown tips, yellowing leaves, or an abundance of long stems with baby “spiderettes” that may overcrowd the plant!
how to prune hanging spider plant (step by step)?
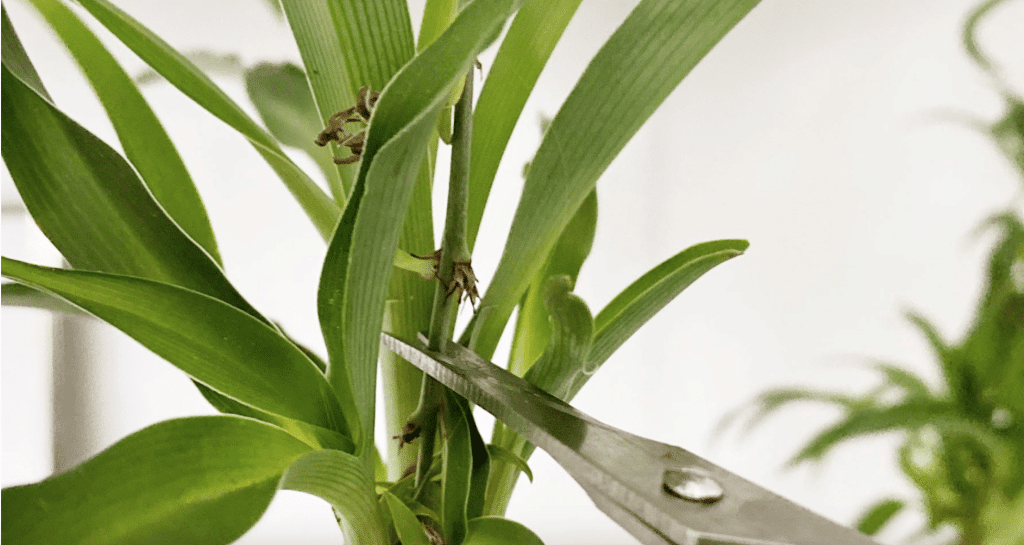
1. Identify Dead or Damaged Leaves: Look for leaves with brown tips, yellowing, or any signs of rot. Use clean, sharp scissors to avoid damaging the plant tissue.
2. Trim Back Overgrown Stems: Cut back any long stems with spiderettes, trimming them close to the base to encourage a bushier appearance. Remove only a few at a time to avoid stressing the plant.Remove Entirely
3. Dead or Drooping Leaves: Snip these leaves at the soil line. Avoid cutting green, healthy parts to maintain overall health.
how to care after pruning hanging spider plant?
Water lightly after pruning: a reduced foliage needs less moisture. Place it in bright, indirect light, and avoid fertilizing immediately to let it recover naturally for about a month!
propagating

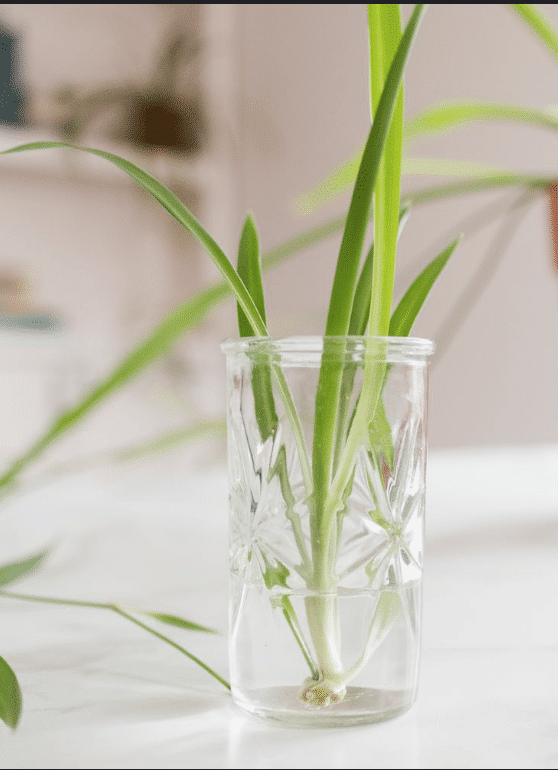
When to Propagate hanging spider plant?
Spider Plants are easy to propagate, with baby spiderettes being the simplest method, though they can also be propagated through division. Spring is ideal, as it’s the plant’s active growth period!
how to Propagate hanging spider plant (step by step)?
Choose Healthy Spiderettes
Look for small spiderettes with a few visible roots. Carefully cut them from the main stem using sterilized scissors. They should look like the image one shown above
Prepare the Medium
Use a small pot with well-draining soil, or a jar of water if you want to see roots form first. For soil, moisten it lightly before placing the spiderette in. We recommend water as its easier and more satisfying. This method is shown in the second image above!
Plant or Place in Water
If using water, submerge only the roots, keeping the leaves above water. For soil, plant it lightly into the surface, pressing gently to secure it.
how to care after propagating hanging spider plant?
Transplant to soil once roots reach 1-2 inches. Place in bright, indirect light, and mist occasionally to support early growth. Avoid direct sun until the new plant is established, which should take about 3-4 weeks!
Troubleshooting common issues
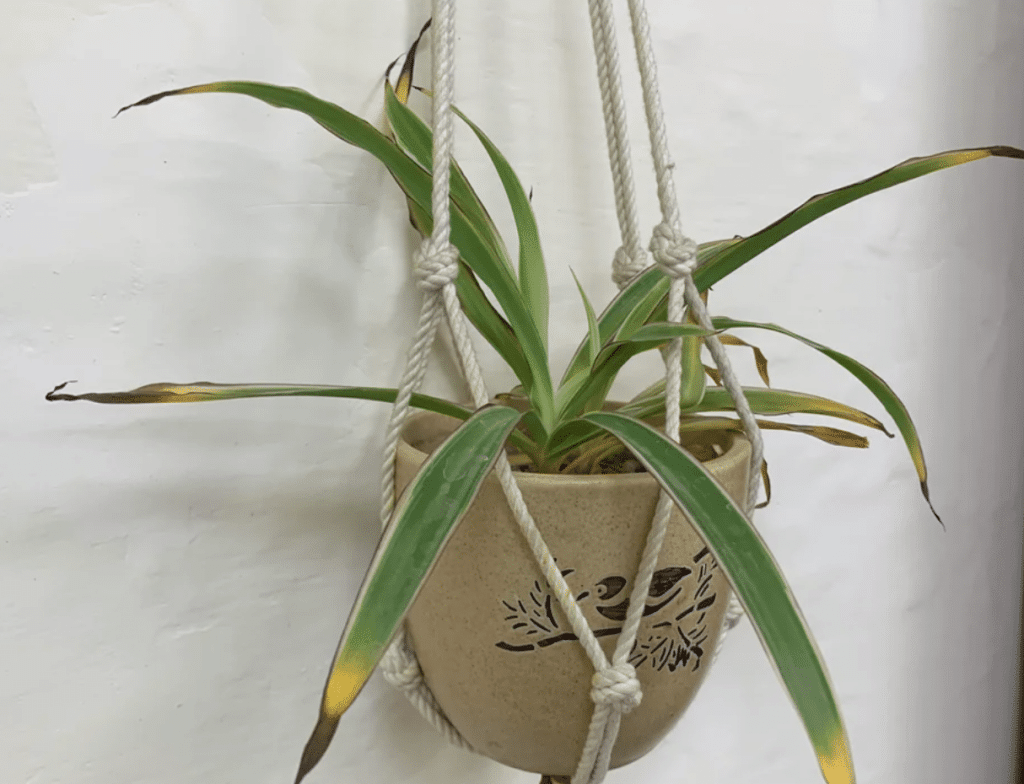
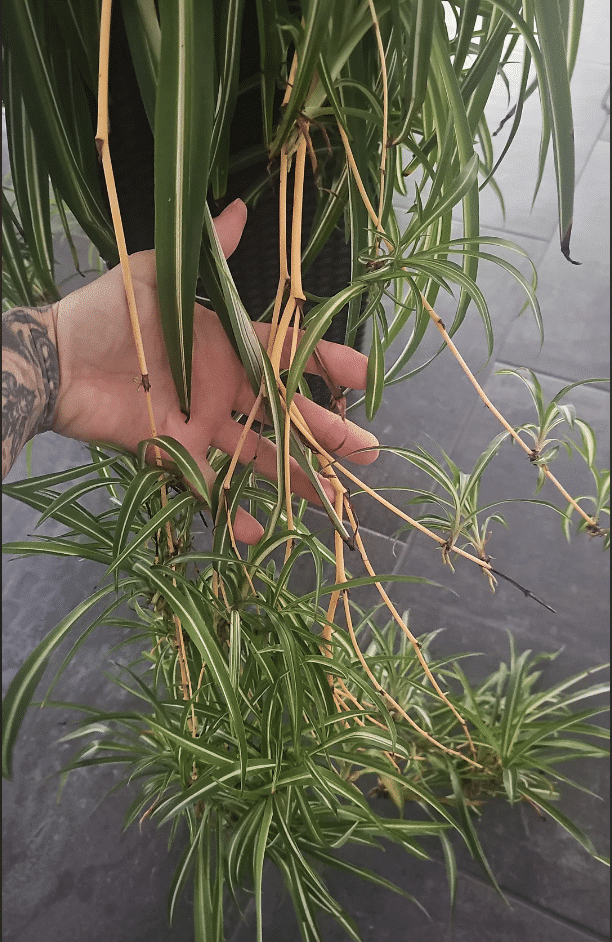
1. Why are the leaves of my hanging spider plant curling?
Cause:Exposure to cold drafts or low humidity often leads to curling.
Solution: Keep the plant in a draft-free, moderately humid area. If this doesn’t workd, mist the plant occasionally: once every couple of days till the problem solves.
2. Why are leaves of my hanging spider plant yellowing?
Cause: Can be from overwatering or nutrient deficiency.
Solution: Let soil dry out between waterings: top two inches must feel dry when your fingers are immersed. If this doesn’t work, and apply the recommended watersoluble 10-10-10 fertilizer monthly.
4. Why are there Brown tips to the leaves of my hanging spider plant?
Cause: Low humidity, or fluoride in tap water.
Solution: Mist occasionally, or if you have a bathroom that gets filtered light, place the plant there for a while. If this doesn’t work, use filtered water, and do not fertilize!
5. Why are the new leaves of my hanging spider plant leaning to one side?
Cause: If your Spider Plant is leaning toward the light, it’s a sign that it’s reaching for more sunlight.
Solution: Rotate the plant every couple of weeks to ensure it gets even light exposure on all sides, helping it grow more symmetrically. If possible, place it in a spot with bright, indirect light from multiple directions, such as near an east-facing window.
6. Why are there sticky residues on the leaves of my hanging spider plant?
Cause: Spider mites or other pests can leave a sticky substance on the leaves.
Solution: Rinse leaves with water, then treat with insecticidal soap to manage pests.
7. Why are the leaves of my hanging spider plant pale and limp?
Cause: Underwatering often results in drooping, pale leaves lacking their usual vibrancy.
Solution: Water thoroughly when the top inch of soil feels dry, and ensure consistent moisture without waterlogging.
curated styling tips for hanging spider plant
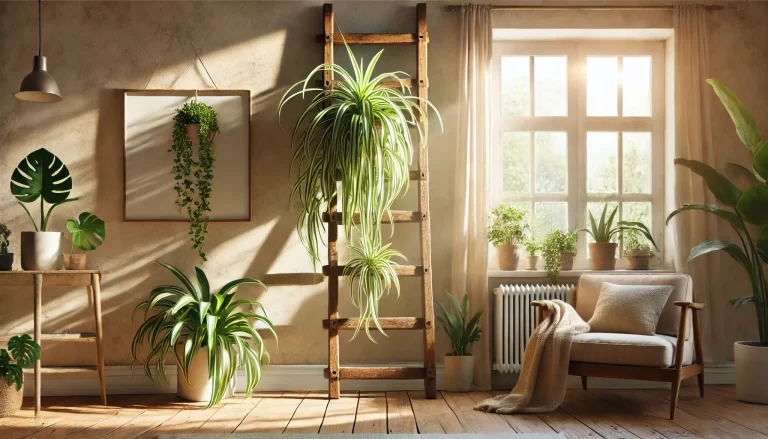
1.DIY Wooden Ladder Hanger: If you have an old wooden ladder hang the Spider Plant from one of the top rungs, allowing it to cascade downward. Secure the ladder horizontally across a sunny wall that only receives indirect light, such as a living room corner. The plant’s foliage can hang through the steps, creating a lush, green waterfall effect!
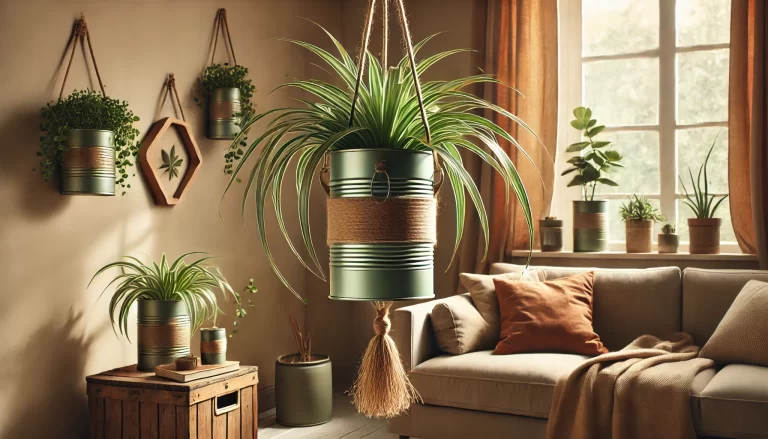
2.Tin Can Planters with Jute Ropes: Gather a few tin cans of various sizes, clean them, and paint them in soft, earthy colors. Attach jute rope handles to each can and cluster them at different heights in a single hanging arrangement, with the Spider Plant as the centerpiece. Position in a moderately bright area for indirect light, in living room.
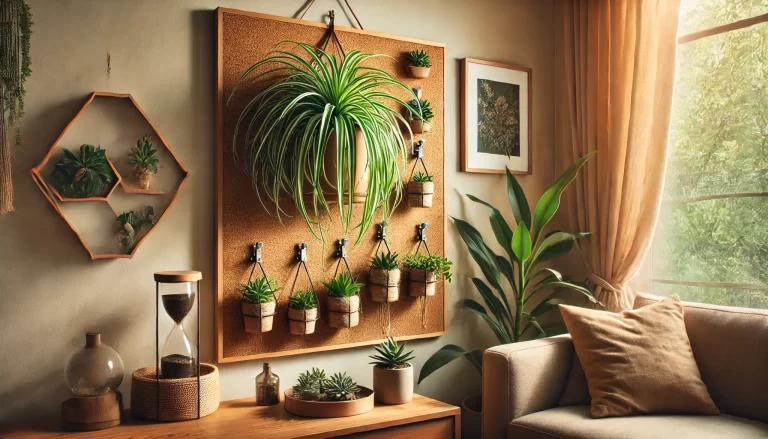
3.Cork Board Hanging Wall Planter: Create a wall-mounted hanging planter using a large piece of cork board and metal clips or wire. Attach the Spider Plant pot to the board with clips, and allow it to hang freely while giving it support. The cork offers a rustic and natural backdrop that contrasts with the Spider Plant’s bright green tones. Cork absorbs some moisture as well – benefiting the plant’s humidity preferences. Mount near indirect sunlight in a living room or a bedroom to prevent leaf burn.
FAQ
Is hanging spider plant toxic to pets?
No, Spider Plants are non-toxic to cats and dogs, making them a great option for pet-friendly households! However, cats may be tempted to nibble on the leaves, so monitor for any overindulgence!
Does hanging spider plant like to be placed outside in summer?
Yes, Spider Plants love spending summer outside in bright, indirect light. Just keep them in a shaded area and bring them indoors if temperatures drop below 55°F.
What are advantages and disadvantages of hanging spider plant?
Pros: It’s pet-safe, low-maintenance, air-purifying, and easy to propagate. Cons: Susceptible to brown tips from dry air or tap water, and occasional leaf curling due to low humidity.
How can I encourage my hanging Spider Plant to bloom??
Place it in a spot with bright, indirect light and avoid over-fertilizing. Blooming often occurs in mature plants when they’re healthy and slightly pot-bound.
Why aren’t my hanging spiderettes growing roots?
Spiderettes need bright, indirect light and slightly moist air to root. Try misting the baby plants or placing a damp cloth nearby to raise humidity, and avoid direct sun.
How do I keep my Hanging Spider Plant from tangling?
Spiderettes can tangle easily in a hanging setup. Gently separate and guide them as they grow, or trim excess baby plants to prevent overcrowding and plant in a new planter! You can also use sticks and trellis to guide the direction of its growth.
How tall can a hanging spider plant grow?
A Hanging Spider Plant typically grows about 12-15 inches tall in height, with its cascading stems stretching much longer, often reaching up to 2-3 feet in length.


